Backing up your Company WebsiteFor WordPress (.org)
Like with your company files and data, it is important to regularly run backups of your website. Unless you are paying for a specific web maintenance contract which includes this service, this responsibility lies with you.
This post covers the 3 parts of a WordPress website backup: WordPress Content, Database and Files. You should also consider the following:
- Set a routine – Plan a schedule for regular backups. Monthly works well for most companies but if you do post more than average, it is worth increasing this to ensure that you do not lose work.
- Updates – If your website requires an update when you log in ready to back up, this should be treated a little differently. I personally run a backup, then update and check for issues. If it was a major update then I run a second backup once I have run those checks.
- Major changes – if you are adding or editing, making an changes that are considered to be a significant amount of work or change, I would suggest backing up prior to beginning and again when you have completed the changes.
- All at once – When backing up, ensure that all of the 3 components are done in the same time period. If you are distracted and need to return the next day, start again.
- Safe storage – it is important that the backups are stored in a safe place and backed up along with your other company data. Never store the backups on the same server as the website itself, if the server were to fail then your backups would also be lost.
- Basic checks – run your backup schedule inline with your general website health checks such as form and link testing.
All of your backups will land in your Downloads folder – I recommend creating a new folder with the date they were taken and moving them all in to that. File this with your earlier backups. Note; Never change the name of the backups themselves, this will cause them to fail.
If you pay for a web maintenance contract from your designer or host, it is worth checking if they are also managing your website backups. If they are, here are a few questions that you should be asking them…
- Is there an additional charge for website backups?
- How regularly are backups taken?
- What do their backups include?
- How long are backups stored?
- Are the backups stored on a separate server to the website itself?
- Will those backups be made available to you upon request, and does this incur an additional charge?
Part 1: WordPress Content (Export)
WordPress Export is the simplest of the 3 parts. When reinstalling a website from a backup, this would usually not be required, but that is what makes it so important. During a standard file and database backup reinstall there are lots of things that could go wrong, such as a corrupt file or code or an incompatibility with the server version. If any of these were to happen, the secondary option would be to do a new WordPress installation and then add the content from this export file – it’s a little more work but you will be glad you have it if the worst were to happen!
You will need to be signed in to your WordPress website as an Administrator

WordPress Dashboard > Tools > Export

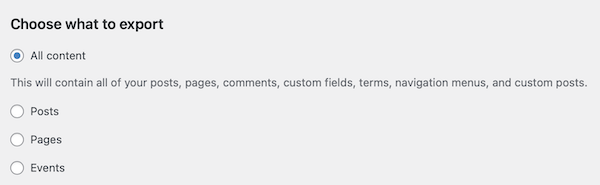
Choose ‘All Content’, then click ‘Download Export File’
Part 2: File Backup (CPanel)
File Backups must be done in conjunction with the Database Backups – each is useless alone!
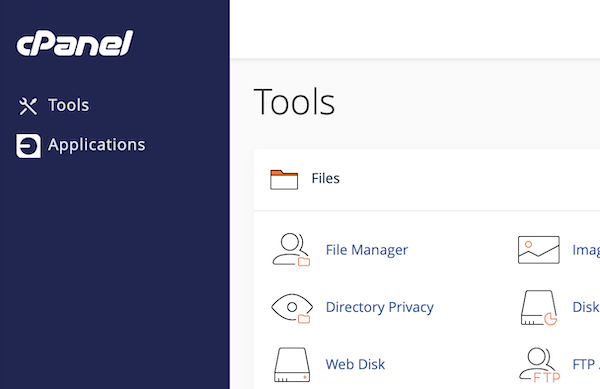
You need to be signed in to your Cpanel, this is accessed via your web hosting server.
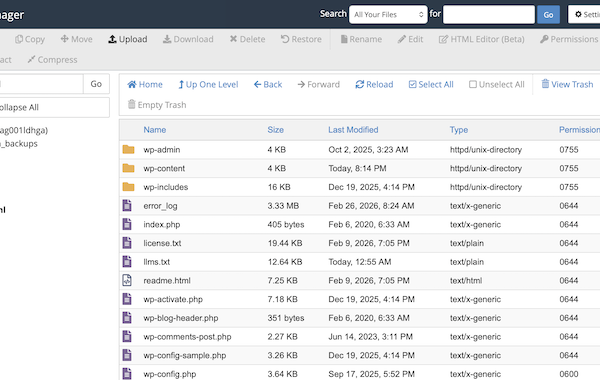
In the Cpanel Dashboard, choose ‘File Manager’
You will then need to ensure that you are inside the ‘public_html’ folder. You can double click on the correct folder to open it.
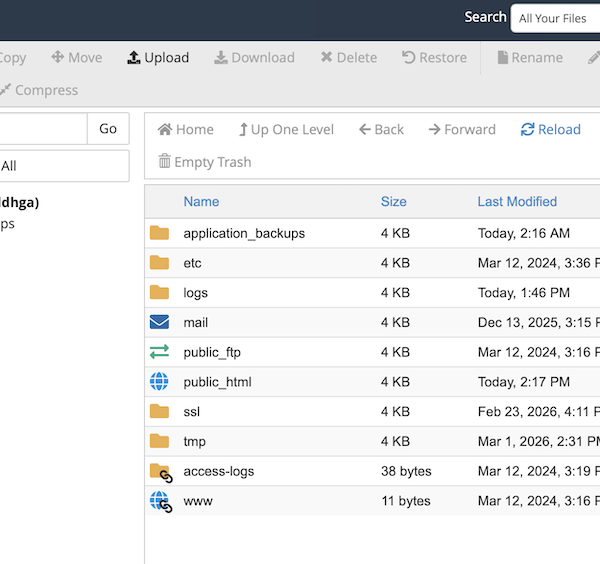
Once inside the public_html folder, it should look similar to this
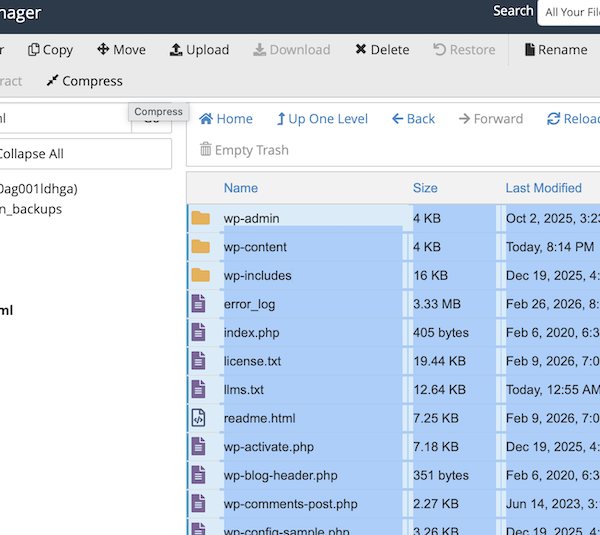
Highlight all files and folders within public_html and click compress at the top of the page
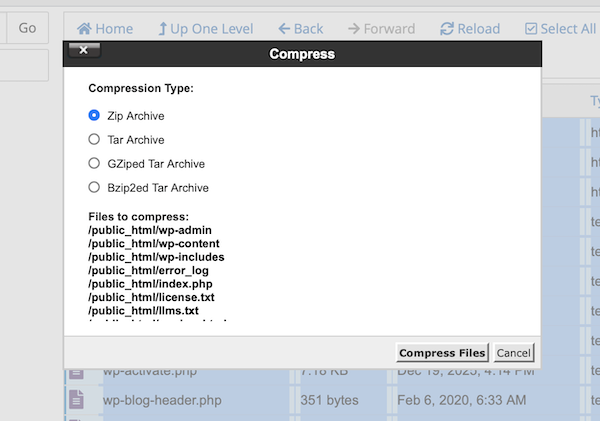
Choose ‘ZIP Archive’ as the Compression Type (don’t click compress files just yet)
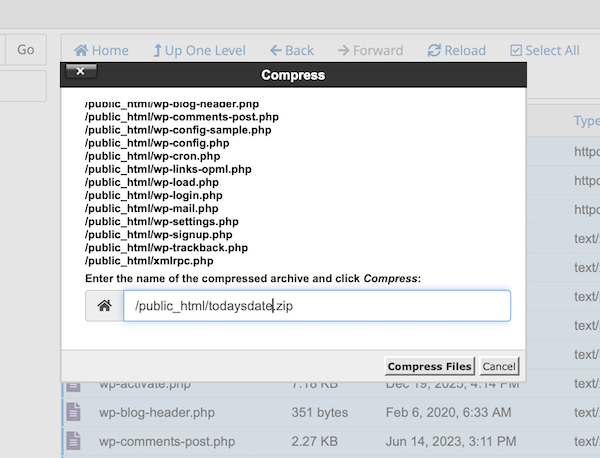
Scroll down and rename the file to the date. Then click ‘Compress Files)
You will get a notice when it is done, you can click close
You will now see that your new compressed file has appeared in the list. Click once on this file to highlight it, then click ‘Download’ at the top of the page. Keep this window open until you can see that your download has completed.
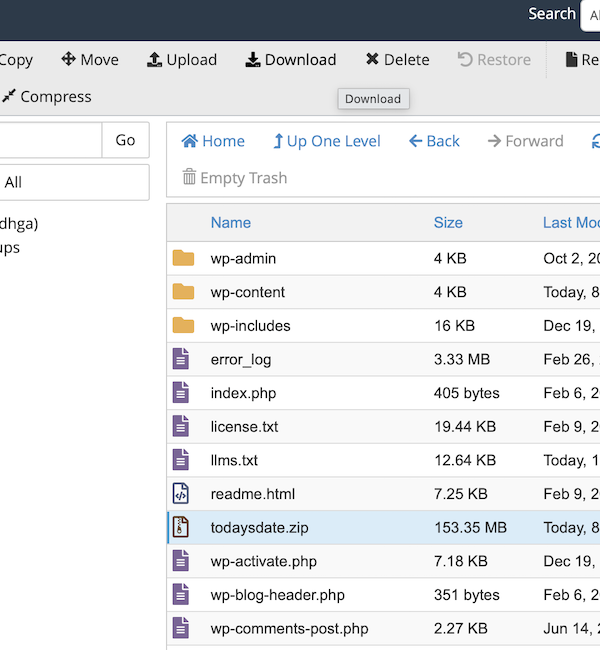
You should delete the file from your File Manager list once the download has completed – this will keep your file space free
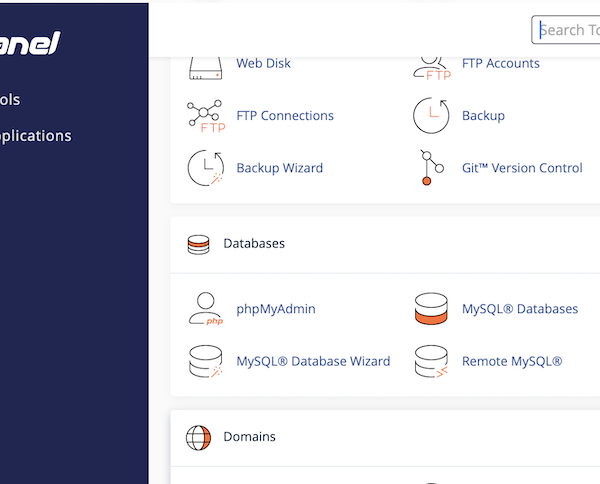
Part 3: Database Backup (PHP MyAdmin)
Database Backups must be done in conjunction with the File Backups – each is useless alone!
In the Cpanel Dashboard, choose ‘PHP MyAdmin”
Choose the correct database from the list on the left hand side and you will see a list of its contents
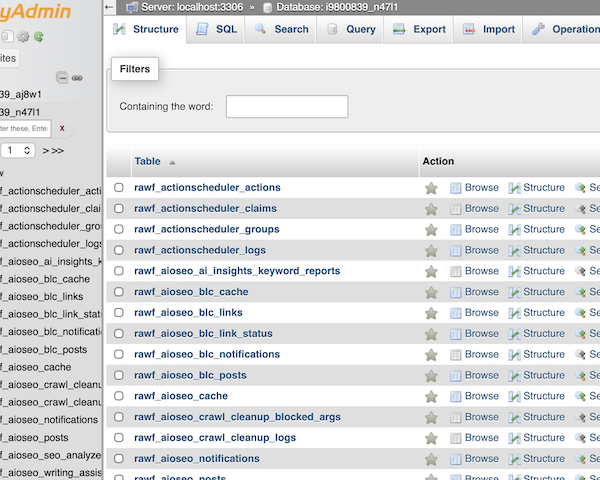
Go to the ‘Export’ tab along the top.
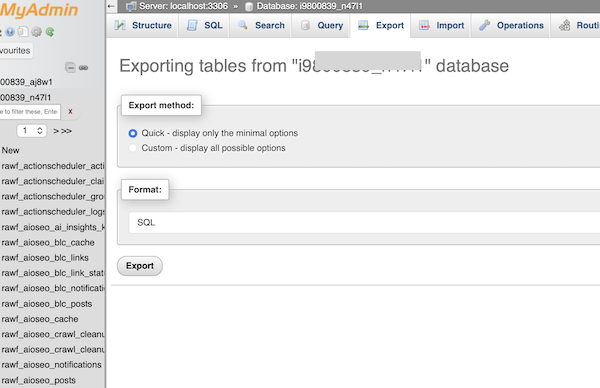
Leave the settings for ‘Quick’ and ‘SQL’ in place and click ‘Go’. The backup will automatically download to your computer.