Backing up your Company WebsiteFor WordPress (.org)
Just like your company files and data, your website should be backed up regularly. Unless you pay for a web maintenance package that includes website backups, this responsibility usually sits with you.
This guide covers the three core components of a WordPress website backup: WordPress content, files, and the database. Before getting started, keep the following best‑practice points in mind:
- Create a routine
Set a regular backup schedule. Monthly backups work well for most businesses, but if you publish content frequently, consider backing up more often to avoid losing recent work. - Handle updates carefully
If an update is required when you log in to run a backup, treat this slightly differently. Run a backup first, apply the update, and then check the site for any issues. For major updates, it’s wise to run a second backup once testing is complete. - Back up before major changes
If you’re making significant edits or additions, run a backup before you start and again once the work has been completed. - Complete all parts together
Ensure all three components of the backup are created within the same time period. If you’re interrupted and need to return the next day, start the process again. - Store backups securely
Backups should be stored somewhere safe and included in your wider company data backups. Never store them on the same server as the website—if that server fails, both the site and the backups could be lost. - Include basic checks
Align your backup routine with standard website health checks, such as testing forms and links.
All backup files will download to your Downloads folder. It’s best practice to create a new folder labelled with the backup date and move all related files into it. Store this folder alongside your previous backups.
Important: never rename the backup files themselves, as this can cause them to fail when restoring.
If you pay for a web maintenance service through your designer or hosting provider, it’s worth confirming whether backups are included. If they are, consider asking the following questions:
- Is there an extra charge for website backups?
- How often are backups taken?
- What exactly is included in each backup?
- How long are backups retained?
- Are backups stored on a separate server from the website?
- Can backups be provided to you on request, and is there a fee for this?
Part 1: WordPress Content (Export)
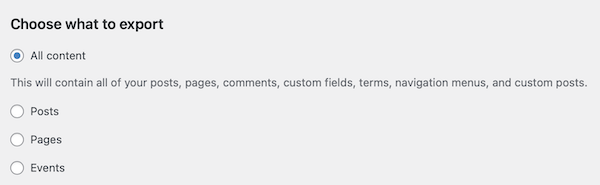
The WordPress export is the simplest of the three steps—and arguably one of the most important. While this export is not usually required during a standard website restoration, it becomes invaluable if a file or database restore fails due to corrupted files, code errors, or server incompatibilities.
If that happens, the fallback option is to install a fresh WordPress site and import your content using this export. It takes a little extra time, but you’ll be very glad you have it if things don’t go to plan.
Requirements:
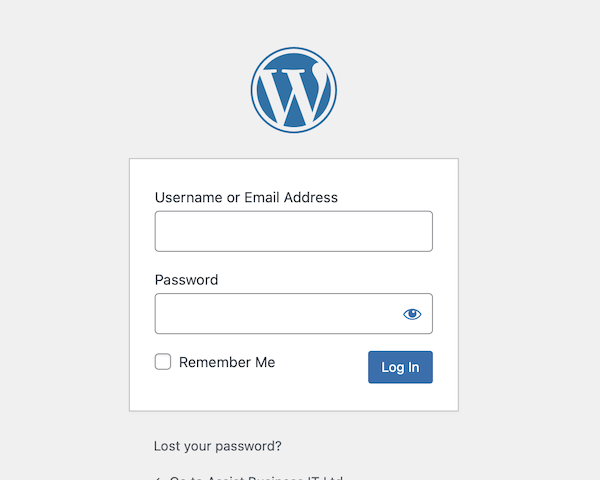
You must be logged in to WordPress as an Administrator.


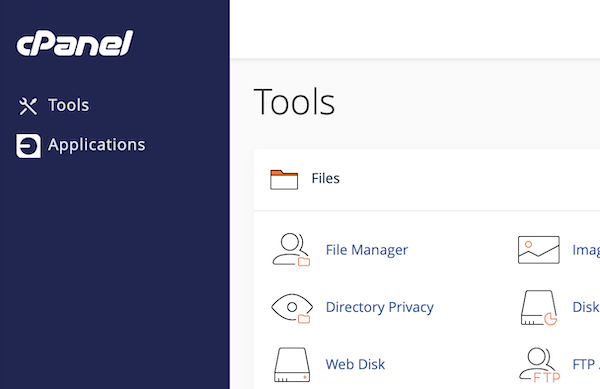
Part 2: File Backup (CPanel)
File backups must always be completed alongside a database backup—one is ineffective without the other.
Requirements:
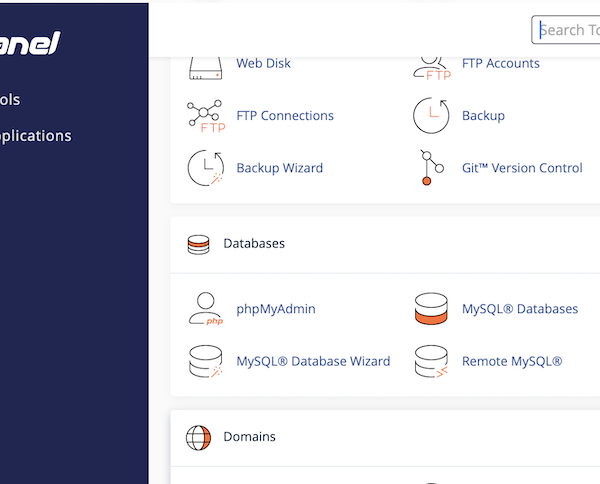
Access to your hosting account via cPanel.
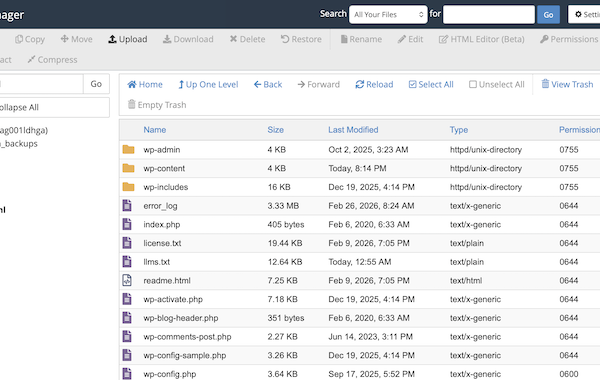
You will then need to ensure that you are inside the ‘public_html’ folder. You can double click on the correct folder to open it.
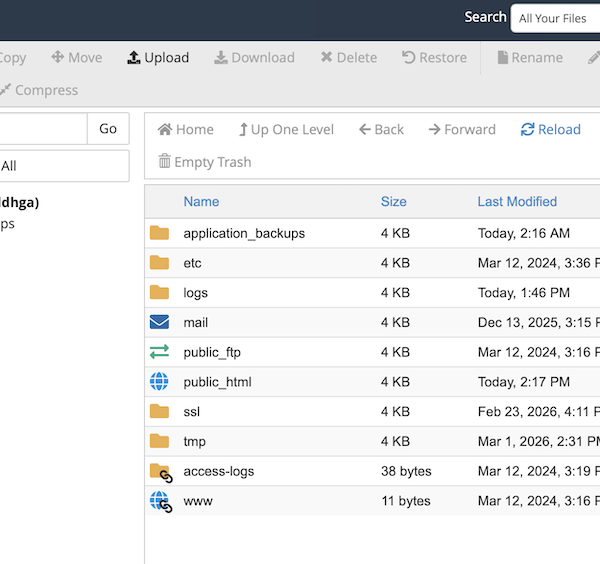
Once inside the public_html folder, it should look similar to this
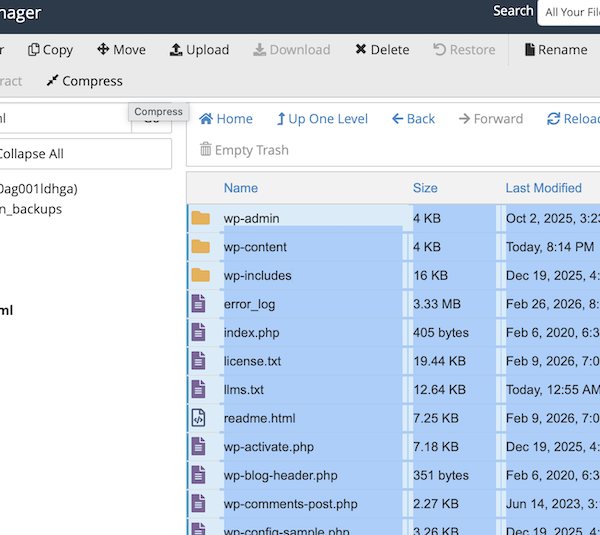
Highlight all files and folders within public_html and click compress at the top of the page
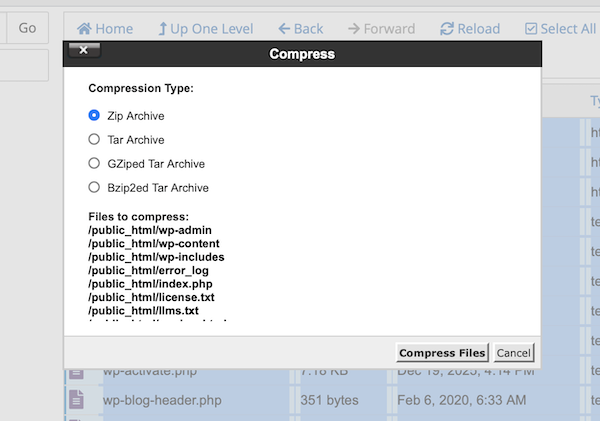
Choose ‘ZIP Archive’ as the Compression Type (don’t click compress files just yet)
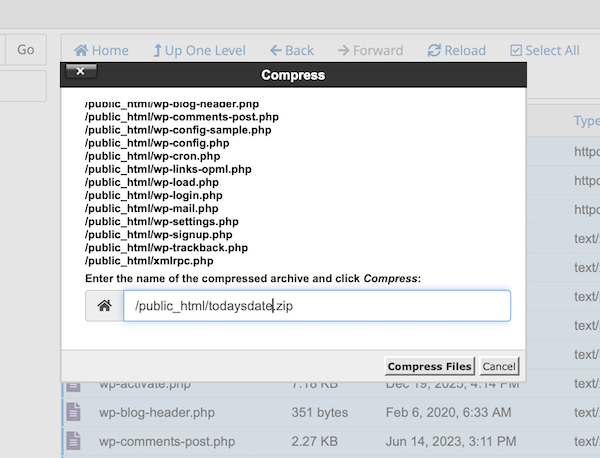
Scroll down and rename the file to the date. Then click ‘Compress Files)
You will get a notice when it is done, you can click close
You will now see that your new compressed file has appeared in the list. Click once on this file to highlight it, then click ‘Download’ at the top of the page. Keep this window open until you can see that your download has completed.
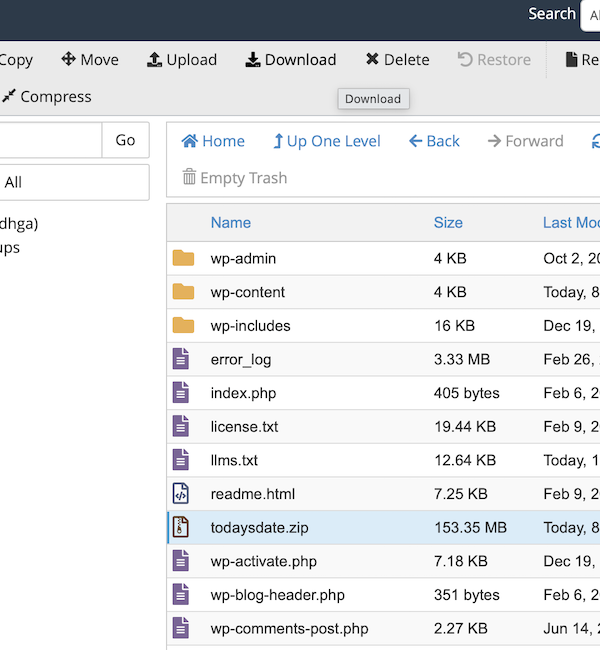
You should delete the file from your File Manager list once the download has completed – this will keep your file space free
Part 3: Database Backup (PHP MyAdmin)
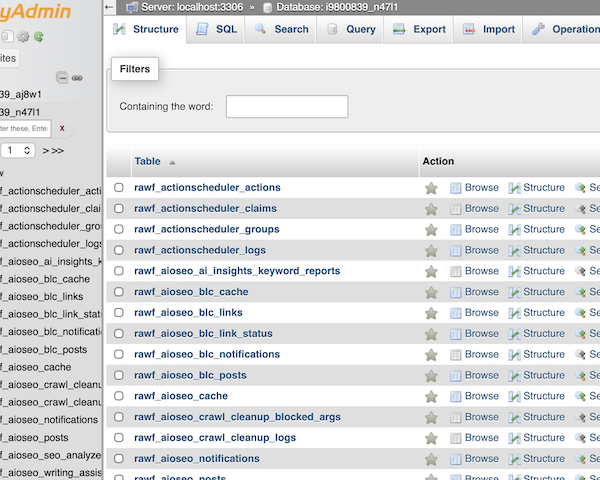
Choose the correct database from the list on the left hand side and you will see a list of its contents
Go to the ‘Export’ tab along the top.
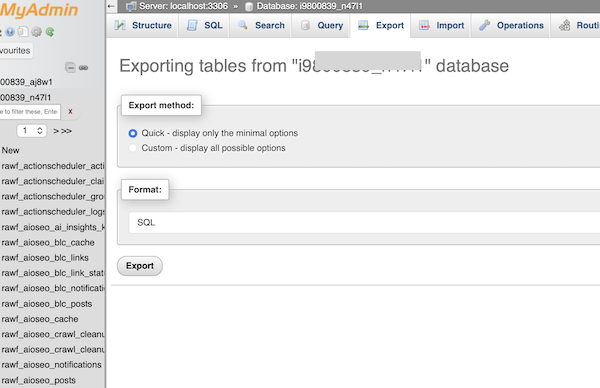
Leave the settings for ‘Quick’ and ‘SQL’ in place and click ‘Go’. The backup will automatically download to your computer.